

I made a reel this week without opening a video editor.
Claude wrote every scene. My laptop rendered the MP4 in about a minute.
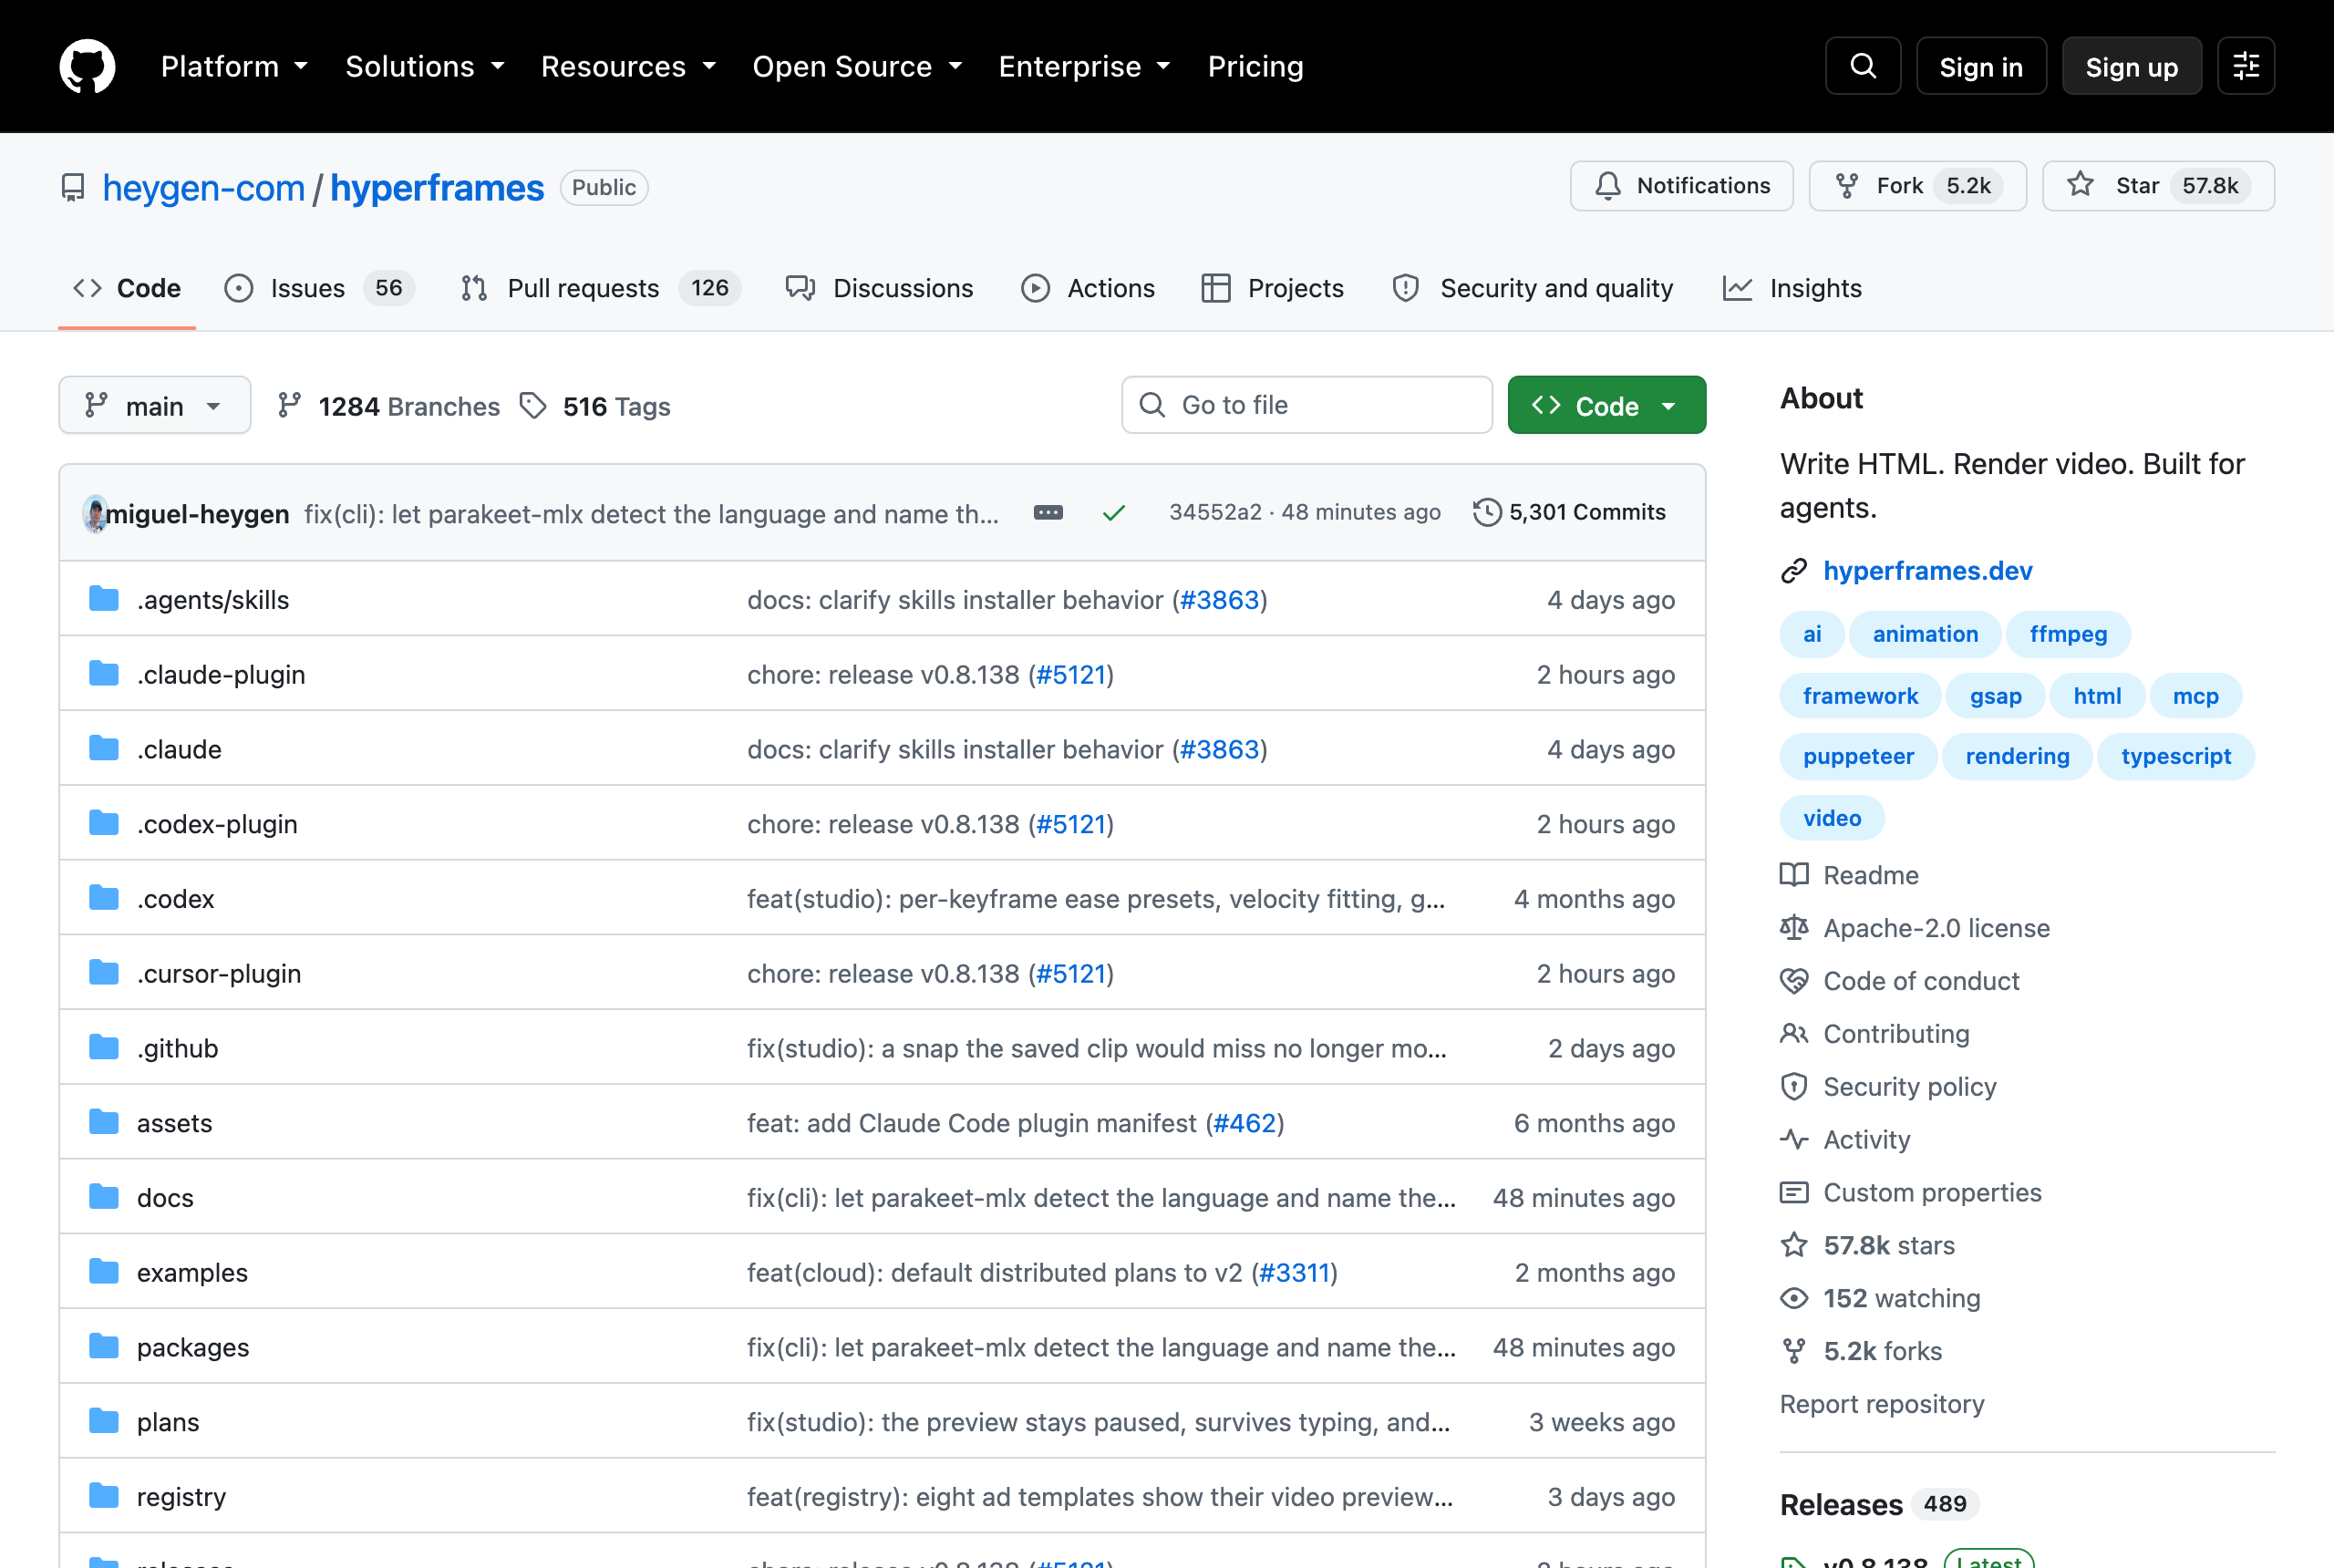
The tool is free, and it has 57,800 stars on GitHub.
New here? Grab a coffee, you’re in the right place. Been here a while? Thanks for sticking around.
If you know someone paying for Premiere just to make reels, send this to them. It might save them $23 a month.
By the end of this post, you’ll have HyperFrames installed, my exact first prompt, and the 4 fixes that took my first video from flat to something I’d post.
If you’re new to this
Most video tools work on a timeline. You drag clips, add text, move keyframes.
HyperFrames skips the timeline. Every scene is a small web page: text, images, colours and motion, written in code.
You don’t write the code, Claude does. You describe the video, Claude builds the pages, and HyperFrames records them into an MP4, frame by frame, on your own computer.
It’s made by HeyGen, the AI avatar company. They released it as open source (Apache-2.0), so it’s free to use, including for client work.
What you need
Three things:
An AI coding tool. I use Claude Code. Cursor, Codex and Gemini CLI work too.
Node.js 22 or newer.
FFmpeg, the free tool that writes the video file.
If you’ve never installed Node or FFmpeg, ask Claude Code to do it for you.
Paste this:
Check if Node.js 22+ and FFmpeg are installed on my computer. If not, install them and show me each step.It checks your machine and installs what’s missing.
Install HyperFrames
In Claude Code, run this:
claude plugin marketplace add heygen-com/hyperframes
claude plugin install hyperframes@hyperframes
It adds HyperFrames as a plugin, with all its skills.
In Cursor, Codex or Gemini CLI, run this instead:
npx skills add heygen-com/hyperframesPick the Core Skills group when it asks. That’s all you need.
To check it worked, start a new chat and type `/hyperframes`. It should ask what your video is about.
Your first video
Here’s the prompt I’d start with. Paste this:
```
/hyperframes Make a [30] second vertical video (1080x1920) for Instagram Reels.

Topic: [what the video is about].

Message: [the one thing viewers should remember].

Script: [paste your script, or ask it to write one].

Look: [your brand colours as hex codes] and [your fonts].

Use real screenshots of [links] instead of invented UI.

Cut to a new shot every 1 to 2 seconds. Captions 2 to 3 words at a time, one keyword highlighted.

Show me the plan first, then build it.
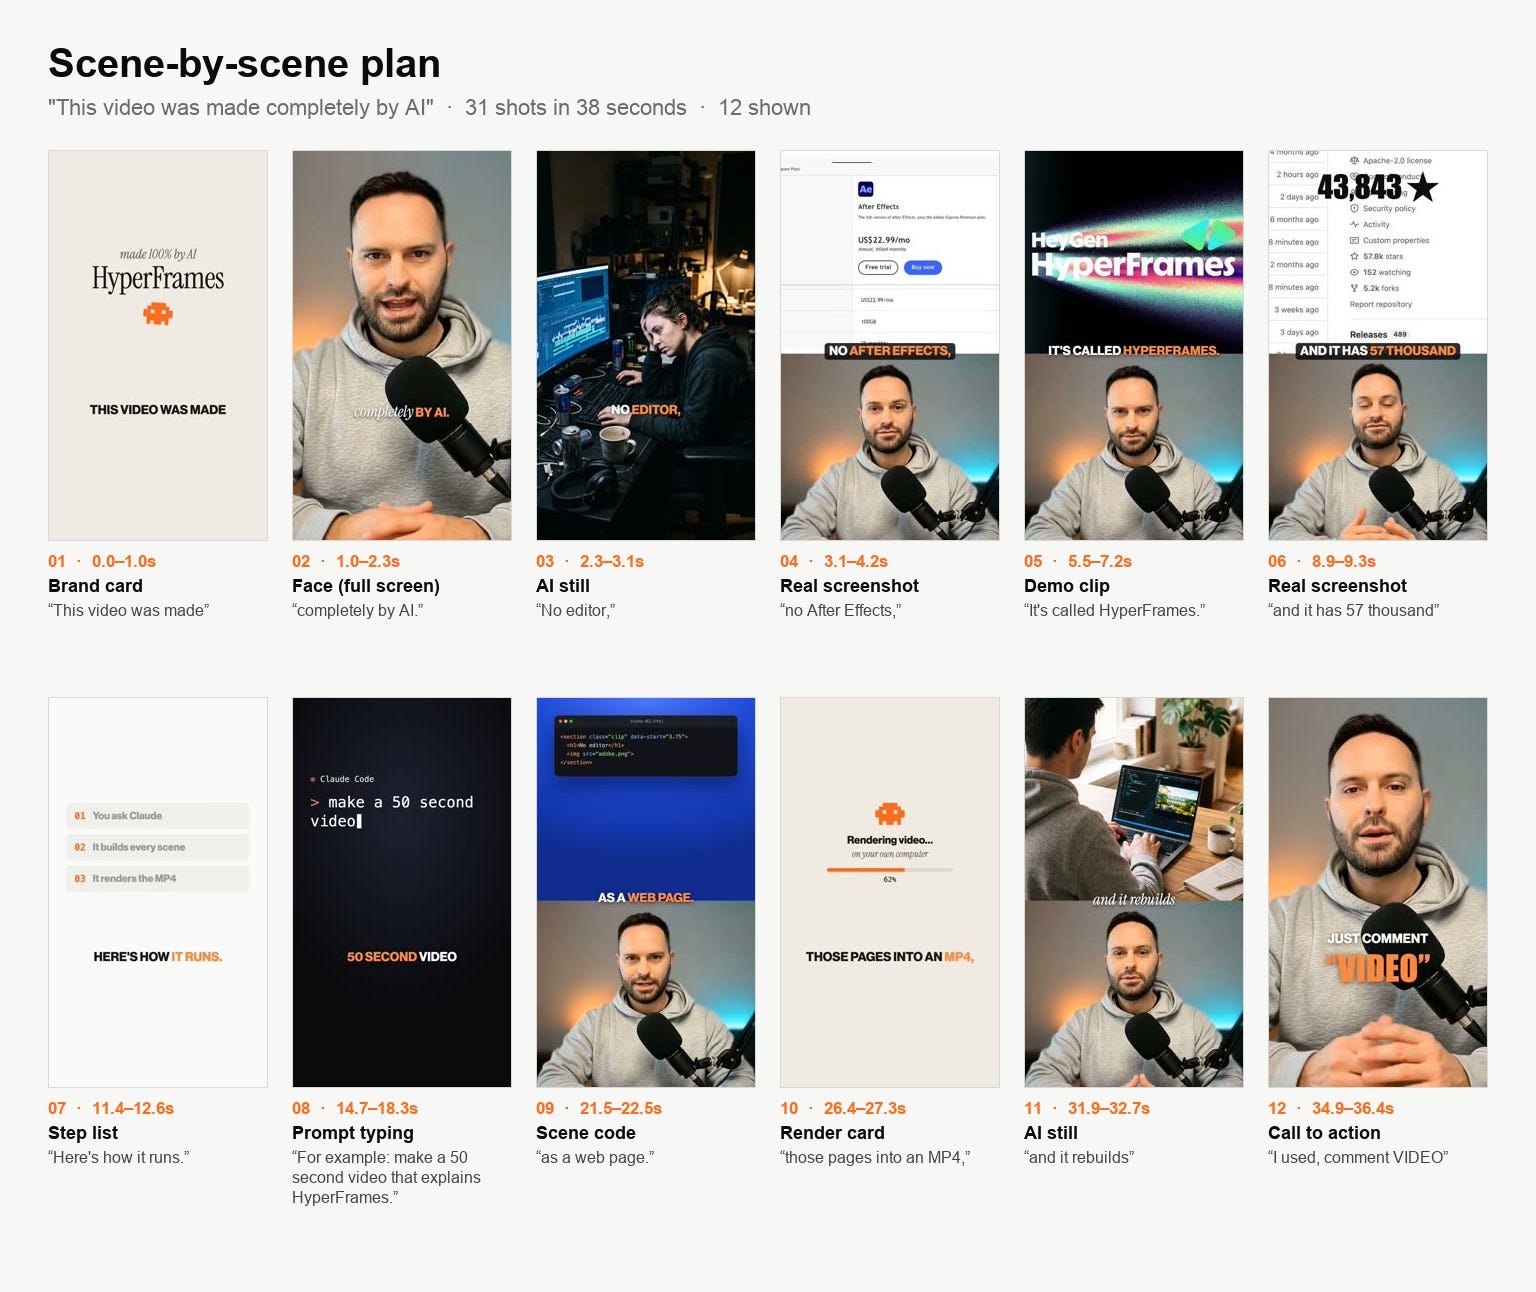
It asks a few questions, writes a short brief, then shows you a scene-by-scene plan. You approve it before anything gets built.
That plan step matters. Changing a scene in the plan takes seconds. Changing it after the build takes minutes.
The 4 fixes that made it look real
My first version looked flat. Every shot used the same layout: one colour, one card, one headline. It looked like a template, because it was one.
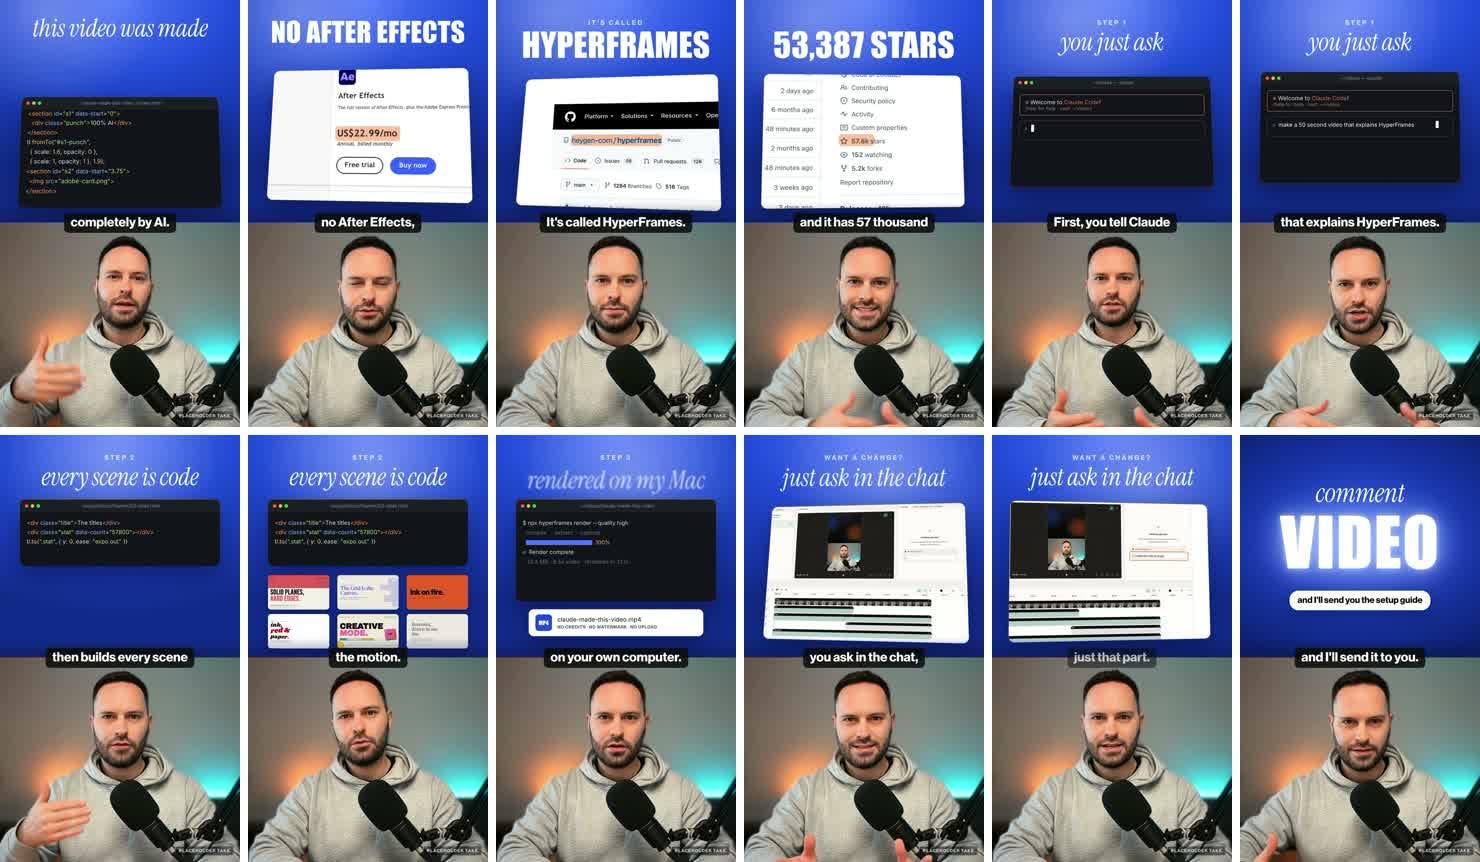
So I studied creators who get thousands of comments on reels like this. Then I changed four things.
1. Real screenshots, not drawn interfaces.
My first draft drew fake app windows. The creators show the real thing: the actual GitHub page, the actual pricing page, the actual app.
HyperFrames can capture a website for you. Paste this:
Capture [link] and use the real screenshots in the video. Zoom into [the part that matters] and highlight it.It saves real screenshots of the page, then zooms and highlights them in the scene.
2. A new shot every 1 to 2 seconds.
The reel I studied had 30 cuts in 39 seconds. Mine had 8 cuts in 42 seconds. That was the whole difference in pace.
One shot per spoken phrase is a good rule.
3. Show what the tool makes.
The best b-roll is the tool’s own output. For HyperFrames, that’s videos made with HyperFrames. Their website has 10 of them.
4. Change the layout, not only the content.
Mix four layouts: split screen, full-screen screenshot, full-screen text card, full-screen face. Same video, but it never looks like a slideshow.
Change any scene by chat
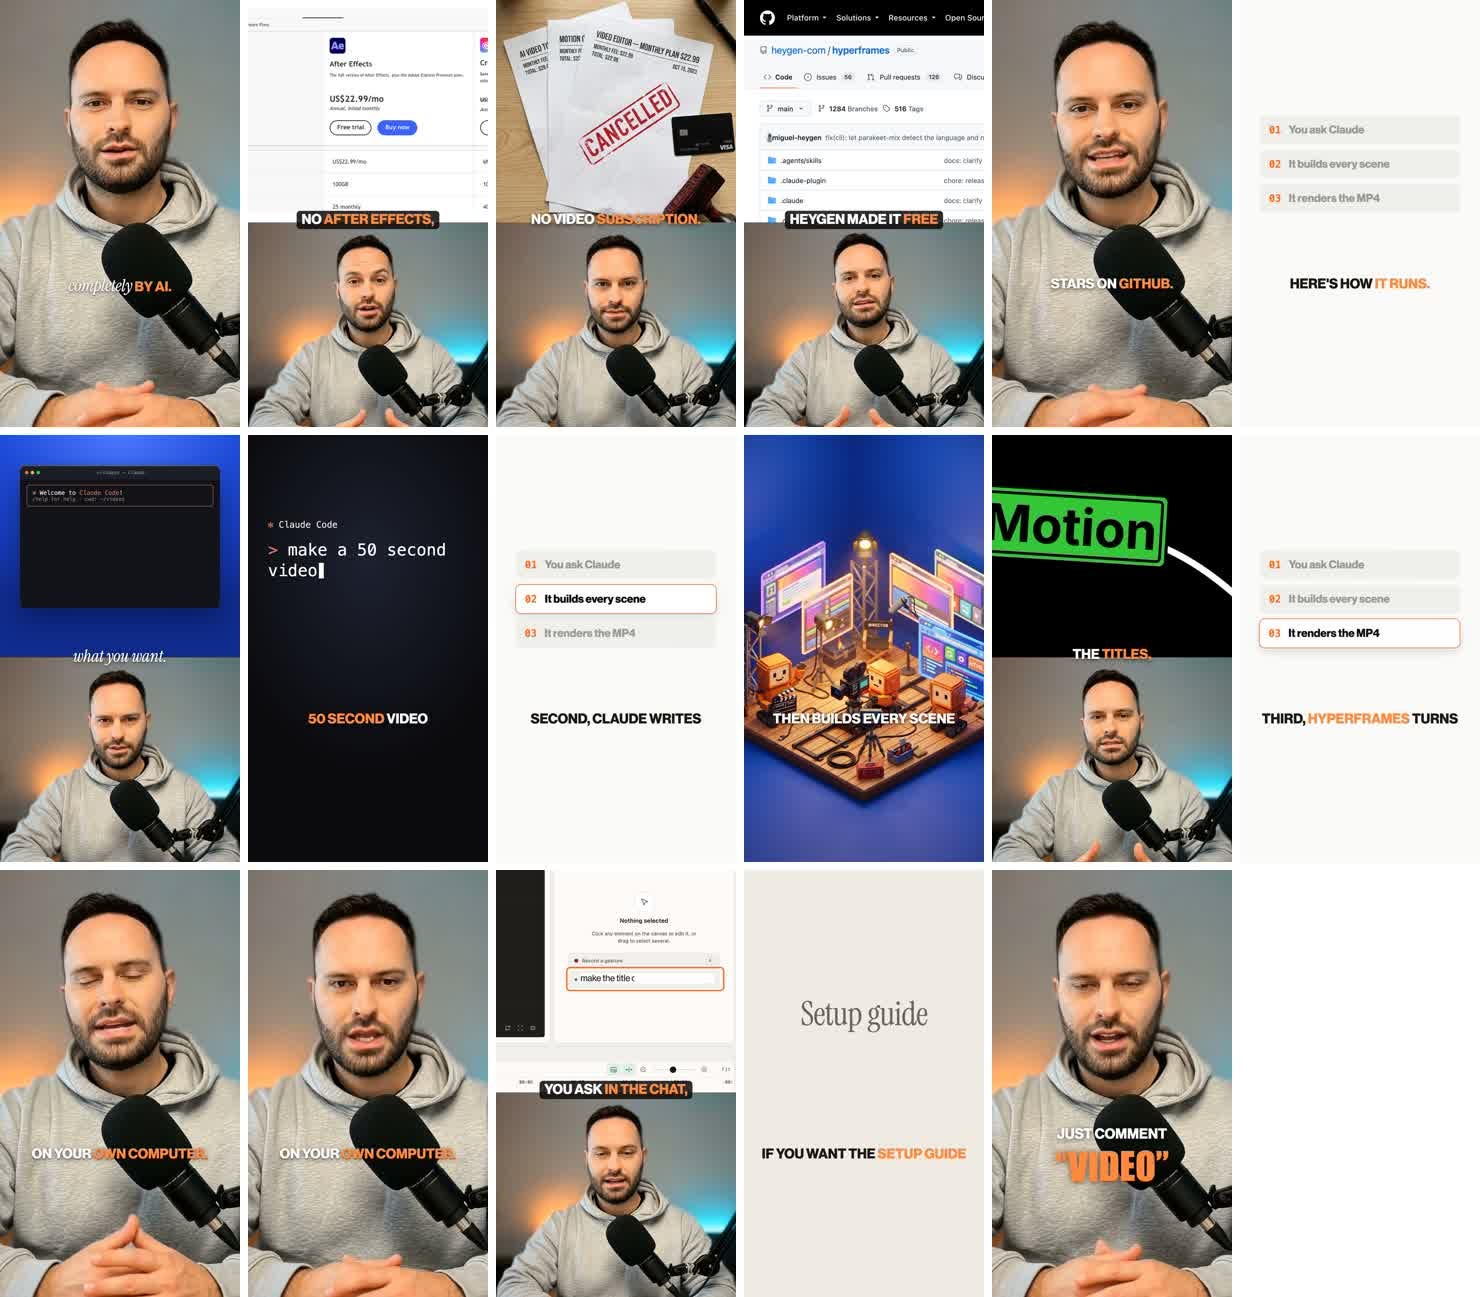
Once it’s built, HyperFrames opens a preview in your browser.
You can click any text or clip and edit it there. Or stay in the chat. Paste this:
In scene 3, make the title orange and make the zoom slower. Keep everything else.It rebuilds only that scene.
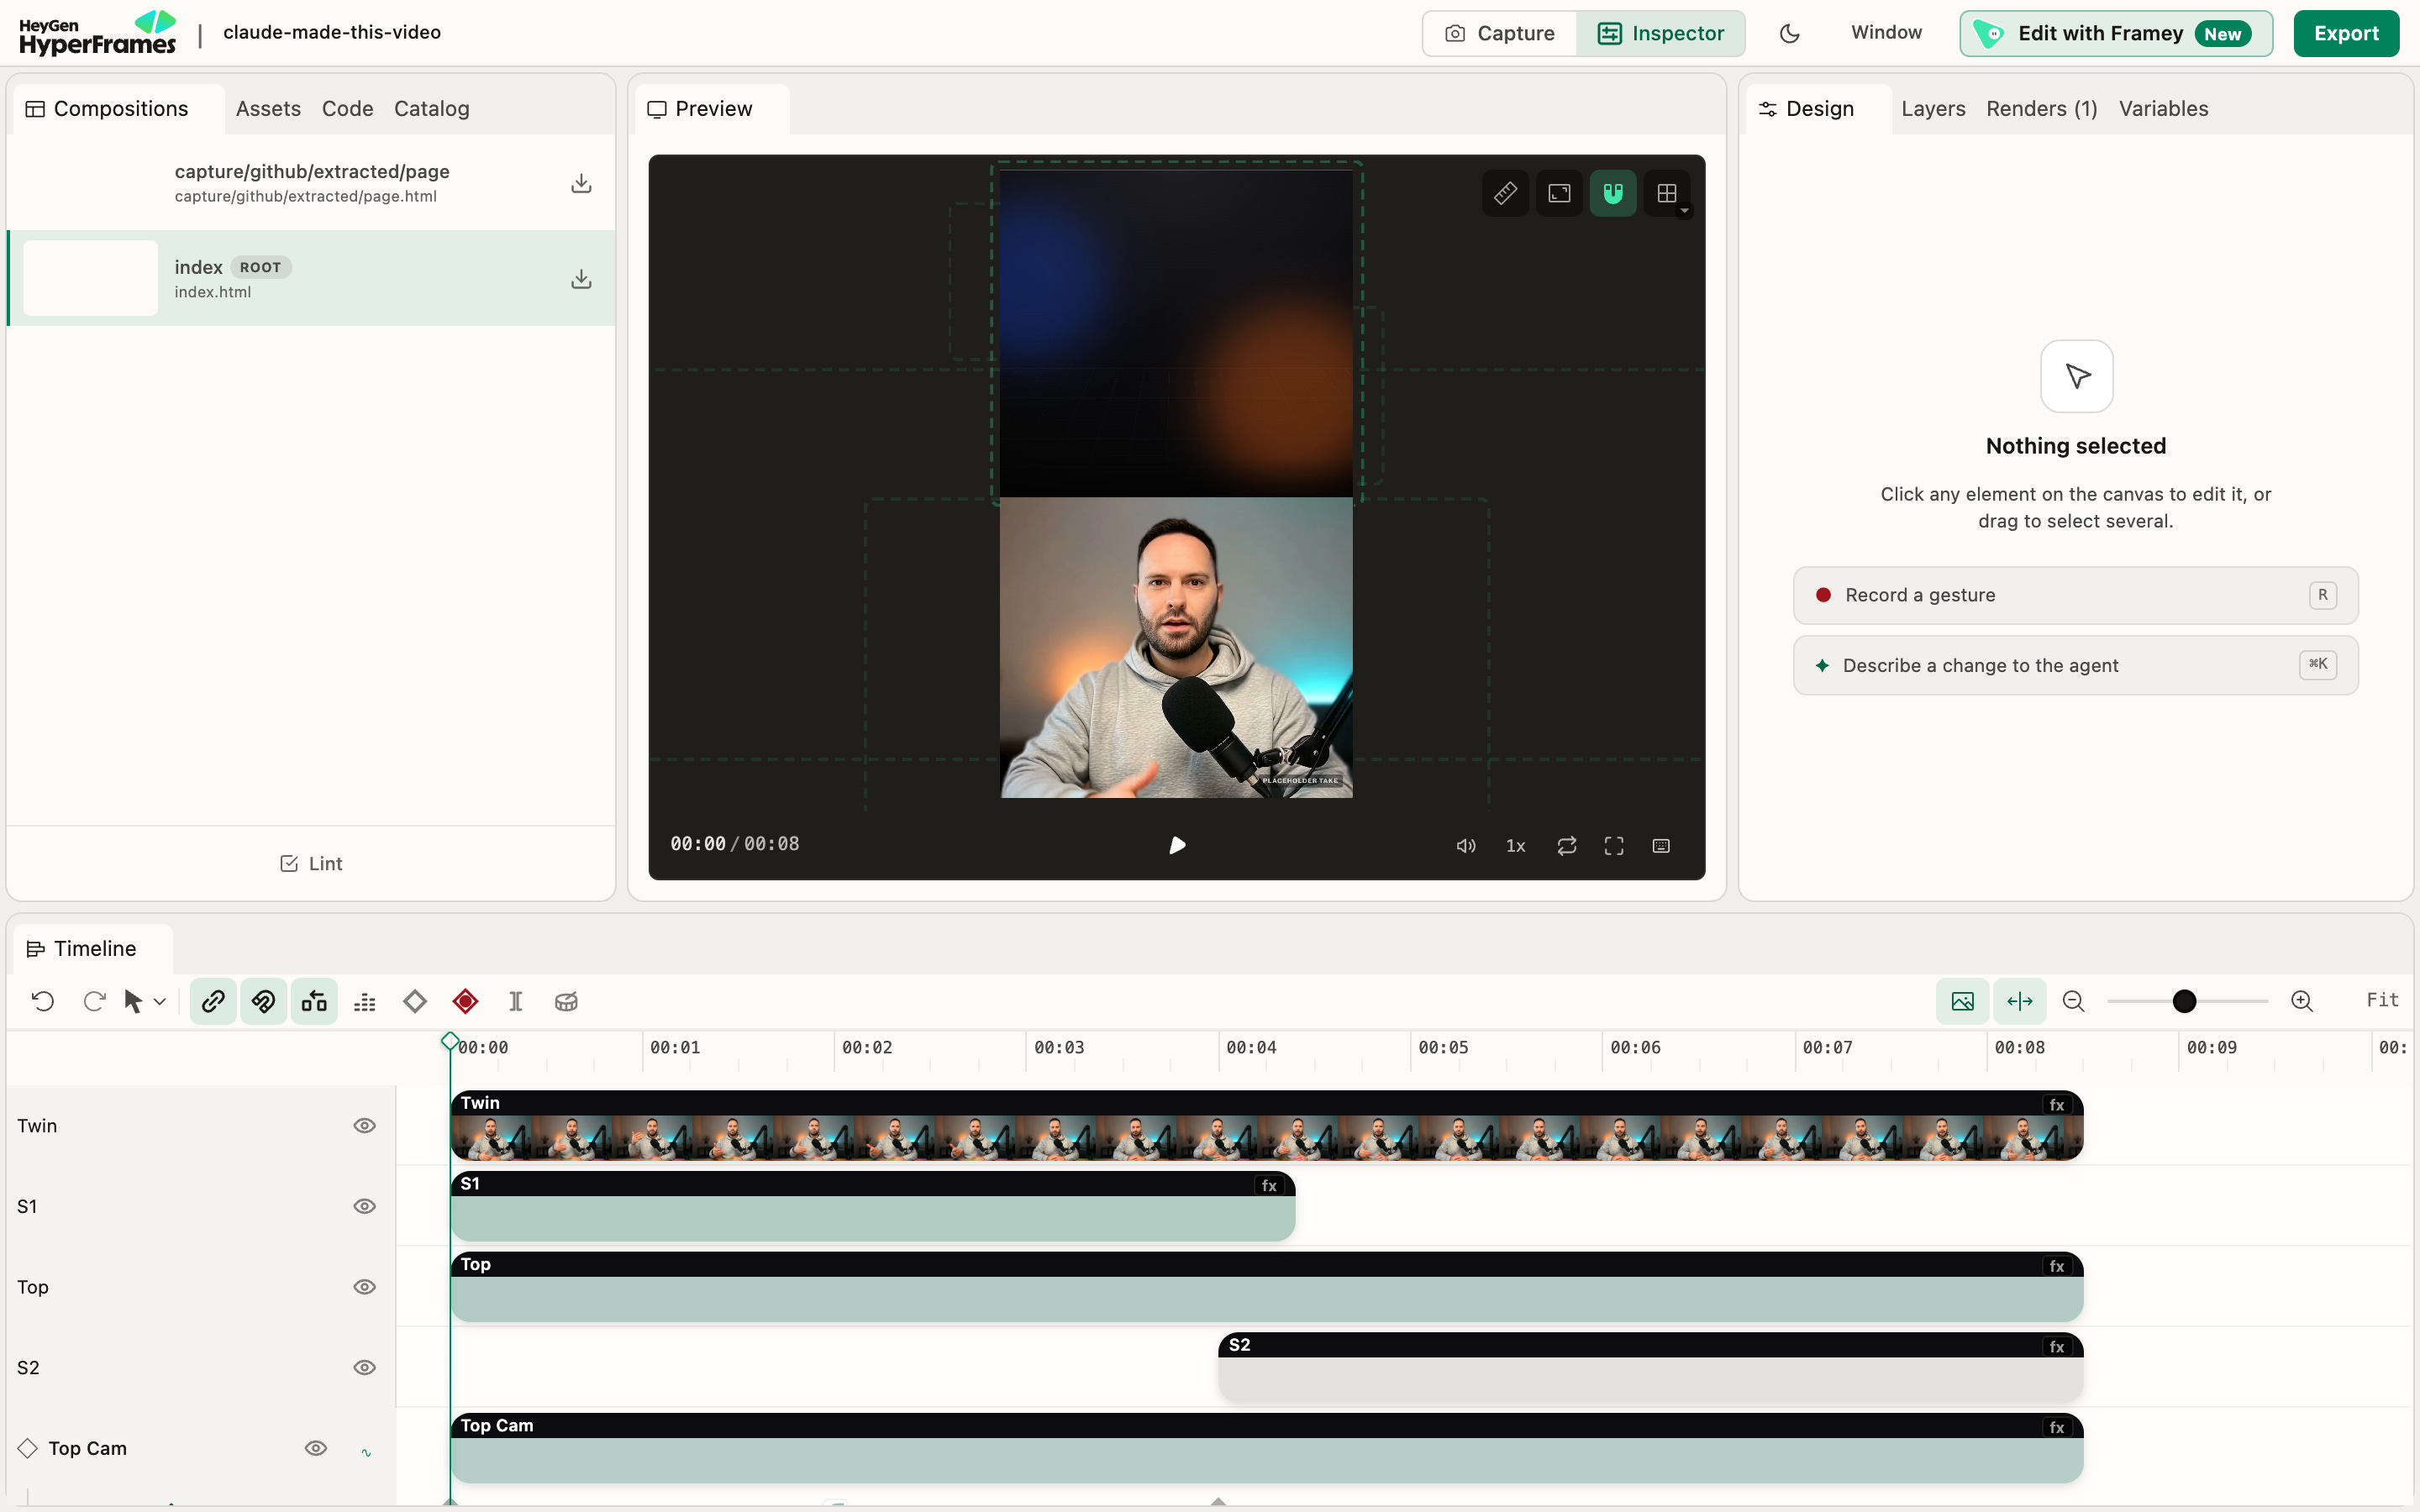
Render it
When you’re happy, ask Claude to render it, or run:
npx hyperframes renderOn my Mac, a 42-second vertical video rendered in about 1 minute. An 8-second test took 31 seconds.
The file lands in your project folder. No upload, no watermark, no credits.
What it actually costs
HyperFrames: $0.
Your AI coding tool: whatever plan you already pay for. I suggest using Opus 5.5 model for this.
A voiceover is optional. HyperFrames can use a free voice on your computer, or your HeyGen account. With HeyGen, a 26-second voiceover in my cloned voice cost 2 credits. Check your balance before and after your first one.
Recap, in the order you’d run it
1. Install Node.js 22+ and FFmpeg.
2. Install the HyperFrames plugin in Claude Code.
3. Paste the first-video prompt and approve the plan.
4. Ask for real screenshots, a cut every 1 to 2 seconds and mixed layouts.
5. Fix scenes by chat or in the preview.
6. Render with `npx hyperframes render`.
If this saved you an afternoon, forward it to one person on your team who edits videos. That’s how this newsletter grows.
See you soon,
Aljaz